Photo by Melinda Nagy via Shutterstock
Buying your first home is exciting, and your dream-book is full of magazine cutouts and interior design sketches. But many entry-level or starter homes do not come with the built-in shelving of your designer-inspired visions. What do you do on a budget? Use your imagination, a little ingenuity and flat-pack furnishings.
What Are Flat Packs?
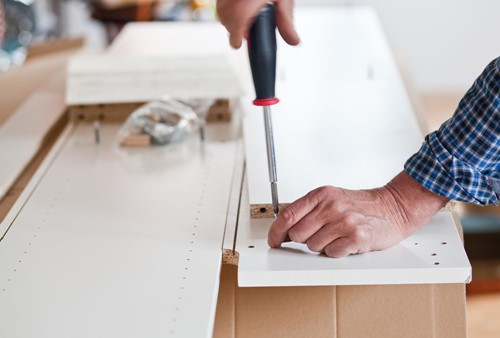
Furniture from in-store and online retailers sell shelving and cabinet units that arrive in flat boxes. They have all the parts, and often the tools, so you can put together the pieces. The main advantage of ready-to-assemble, flat-pack furniture is its affordability. If you’re even a little bit handy, they are simple to set up and offer a lot of sizes to fit most spaces.
The challenge is that it can look sterile and universal. Your stark-white, four-cube by three-cube shelf looks just like everyone else’s.
Hacking to the Rescue
No, not computer hacking — furniture hacking!
Personalize your furniture with some creativity, elbow-grease and experimentation. The Internet abounds with ways to hack your flat-pack furniture. Some websites devote their entire content to ways of updating low-cost furnishings to fit your style. Options range from changing hardware to painting laminate and all ideas in between. Here are some top contenders for getting a built-in look with your flat packs.
- Add trim. Often, basic, ready-to-assemble shelving has simple square corners and flat faces. You can change the face of your cubes or bookshelves with wood, MDF (medium-density fiberboard) or PVC trim. All you need is a sharp handsaw, miter box and some strong glue. The glue you use depends on the composition of the trim. Add a twisted rope design to the face of your shelves for a vintage look or give them some class with crown molding along the top. Choose to merely cover the front with straight cuts, or trim around the sides using your miter box to get beautiful, fitted corners.
- Attach it to the walls. Most ready-to-assemble furniture comes with wall brackets to keep it from tipping over. Use these to attach it to the wall. Then, add half-round (outside) or curved (inside) corner molding at the seam with the wall. Glue the molding to the furniture but nail it into the wall with finishing nails.
- Add feet. If your furniture would benefit from molding along the floor to match your wall’s baseboard, add feet cut from a 2-by-4. Cover the feet with baseboard and paint it to match your walls.
A Word About Paint
Unfinished wood, MDF and primed PVC materials readily accept paint. Laminate and foil veneer over fiberboard (also called thermofoil) are different. Before you start, make certain you know the composition of the furniture. Trust your paint dealer to direct you to the perfect product. But remember, you cannot sand foil veneers easily. Doing so will tear the finish and damage the furniture. Instead, consider using chalk paint.
For more ideas about making flat-packs appear built-in, talk to your local DIY store professionals. When preparing your home to sell, some built-ins may increase the value, so run it by your real estate professional.
About the Author

Louisa Sagarese
Hi, I'm Louisa Sagarese and I'd love to assist you. Whether you're in the research phase at the beginning of your real estate search or you know exactly what you're looking for, you'll benefit from having a real estate professional by your side. I'd be honored to put my real estate experience to work for you. Monmouth Ocean Regional Realtors " 2020 Realtor of the Year"